The DarthCoin Citadel - part 2
Earthbags - Continuing the construction story, with the hard summer of 2023
OK, so continuing the Part 1 of the story, in summer 2023 I start working at the next phase of the project: building the 3 walls with earthbags.
STAGE 4 - 2023 - Earthbags walls
May and June 2023 was damn rainy. Every 2 days a heavy rain so I couldn’t go full time to start the preparations for the walls. Until end of June, last week or so I could go.
That changed my plans a bit. Initially I was thinking to use all those rocks I took out from the hole, because were an enormous quantity of them and I don’t know where to put them. So then I decided to use earthbags to speed up a little bit the process of building the walls. I have that gigantic pile of dirt in the middle that also I don’t know what to do with it, even if my plan is to cover the roof house with it, is still too much.
So earthbags. Cool, but which ones? I start studying a bit the subject. Watching some videos, reading some technical documentation, talking with other people they used earthbags etc. So I was immediately convinced that is the right decision to go ahead with them.
Why?
first of all I have plenty of material: dirt. Free. On site.
bags are really cheap and not heavy to carry on my backpack
easy to manipulate them and fill them, move them
once are in place and dry, are like cement. Nothing can move them, not even an earthquake or flood (not my case).
I could calculate exactly how many I need and in how much time I would finish a section. Making tests with some samples to see exact dimension, weight, manipulation etc
easy to cover them with when the wall is ready with multiple levels of plastering. Also being made from polystyrene could be goo isolation from water (I test it)
depending on the moisture level of the dirt inside you can mold them as you wish
So let’s go! First I tested some bags with different compositions of dirt (more fine, more rocky, more humidity etc) on a small wall I had to build to keep the gigantic pile of dirt taken out from the hole.
After few failures and more intents, I learned how is the best way to fill them and what kind of composition should be. All good to go on massive filling. Also I learned how to saw them properly and got a faster technique, in less than 5 min/bag.
The bags must be filled at maximum! Do not leave any space wasted. The dirt have to have at least 15% water, the moisture must be not so sticky but also not so dry. Enough to be able to blast the bag with a heavy rock and mold it as you want in its place. Also depends of what kind of earth you have. My one was quite clay, excellent for this kind of fillings. Not so sandy, not so rocky. Kind of perfect balance.
The bags MUST be blasted / tramped heavily with a flat rock, until you obtain like a big brick, flat. That way are more stable and the dirt inside doesn’t have too much air in between the particles. In time that dirt without air and water (evaporated) will be like cement.
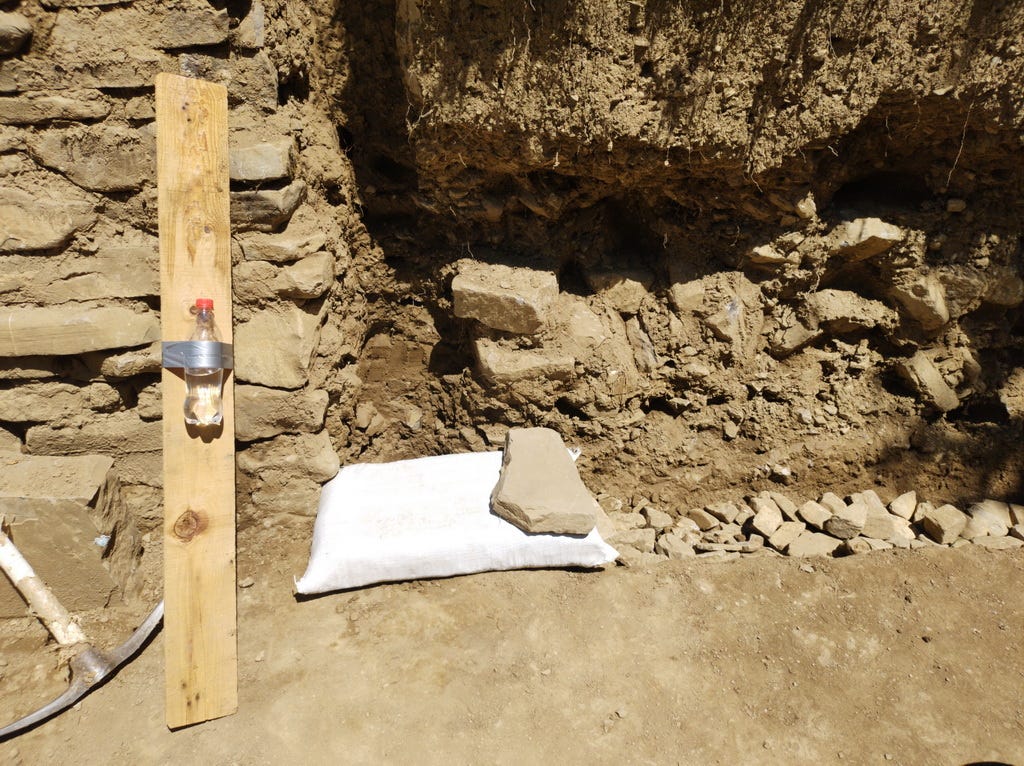
I calculate approximately how many bags I need per row and per wall. Then I start digging a small drainage under the place where will be seated. In case that there’s a huge water infiltration, then it will drain under the bags and further into the soil.
In the meantime, I had to stop for a while this step, because a friend of mine helped me to bring closer to the Citadel a lot of other materials and I had to carry them like 2 km on my back, manually (there’s no road from where he came with his big tractor).
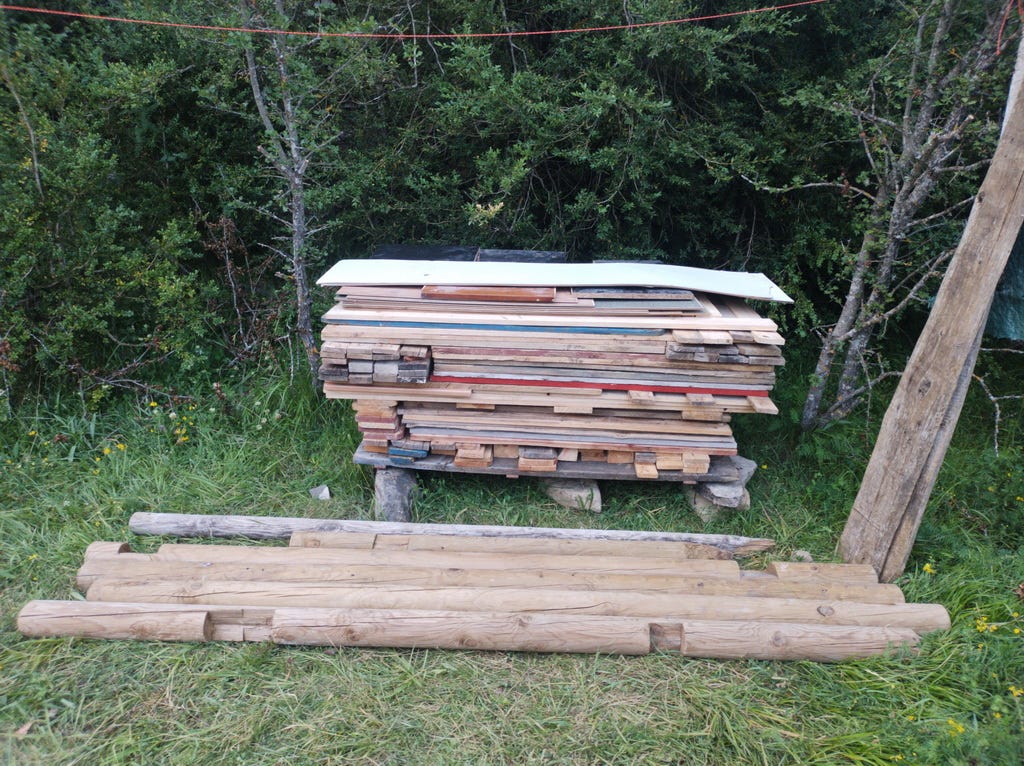
Materials like: 2 mattresses, a pile of wood plates from 15 pallets (to be used for the roof covering), 4 wood pylons, 2 tables, 3 chairs and much more crap things needed.
50 trips in total carrying all that crap materials, with my back, for about 2km on a small rocky path. Like hell job…. That took me about a week in total with so many back and forth trips, with a heavy sunny period, with temperatures of 33ºC.
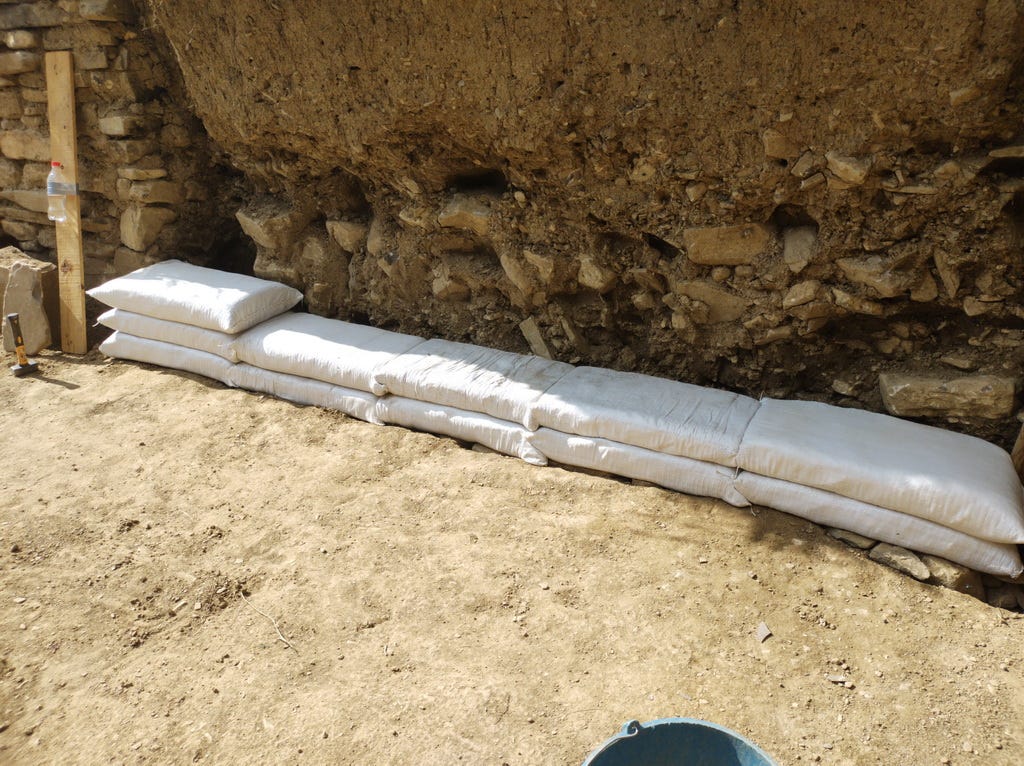
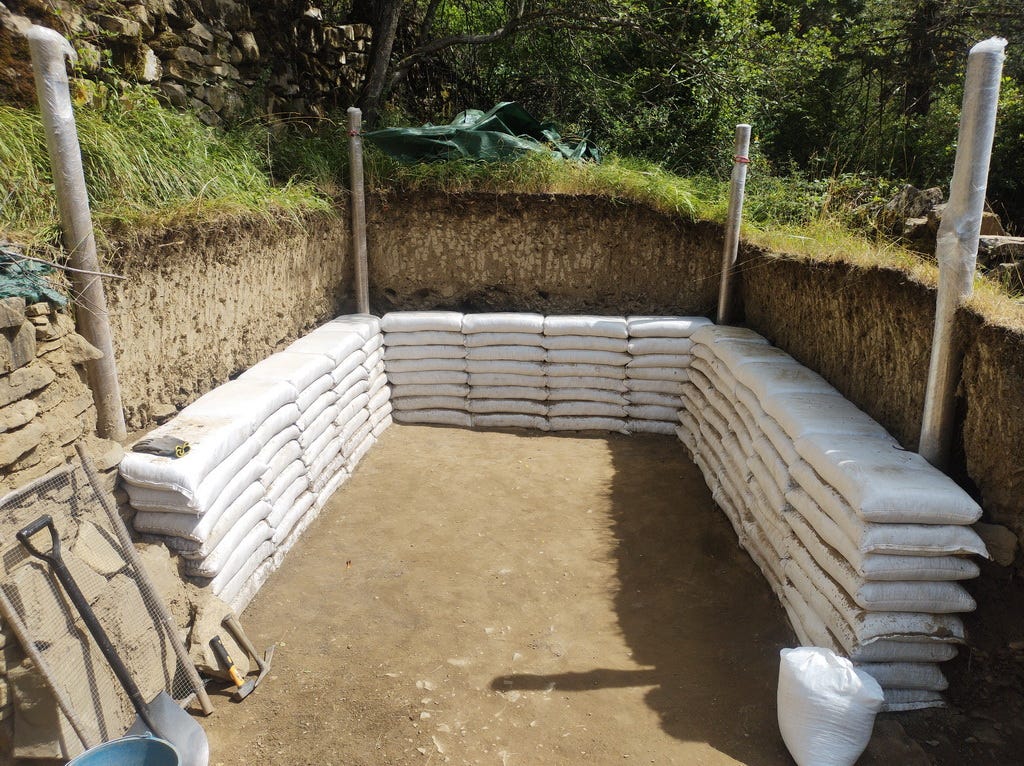
Ok back to earthbags, I finished the first line of bags, with its drainage and tampering the bags as mush as I could. And this was looking like.
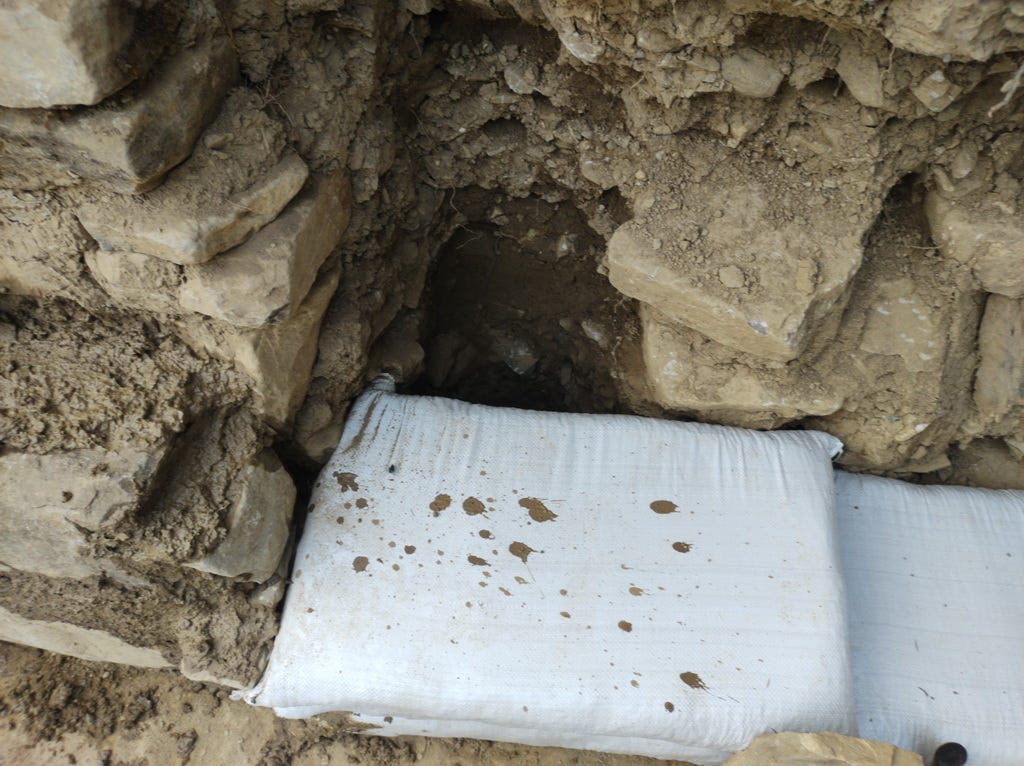
As you can see in the following image, I let the hole for the pylon on the outside of the bags, so the pylon will be pressurized between the earth and the bags.
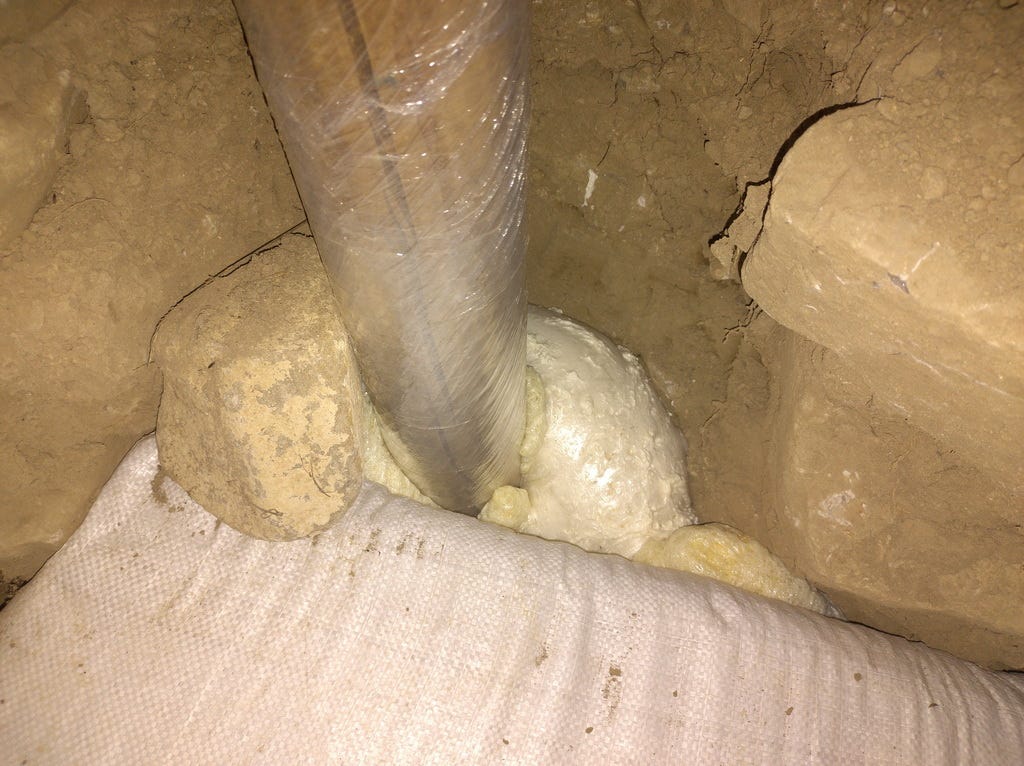
So I kept pilling bags until the 3rd level, then I put the pylons in place, otherwise I would not be able to reach the bottom of them to fill it with polyurethane foam (to isolate their base and keep them straight until will build all the bags till the top.
Preparations for the pylons:
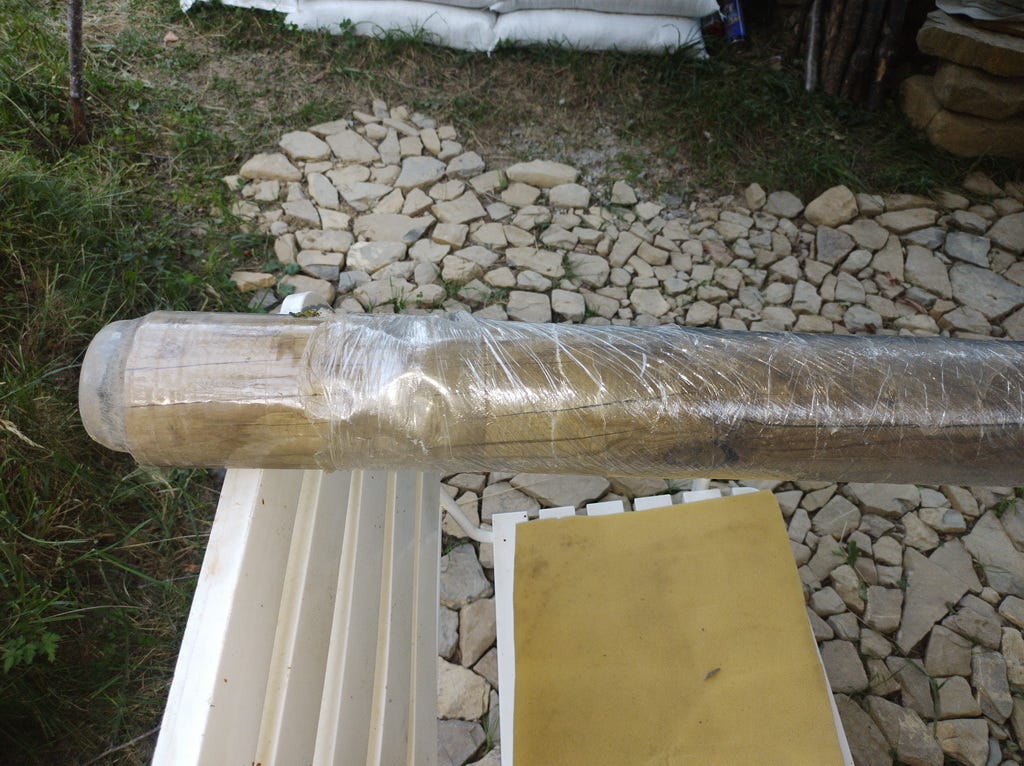
cover them entirely with plastic fill. To keep them isolated from water, dirt, bugs etc. These pylons will be buried 99% into the soil and bags. The bottom end of the pylon was tapped with a plastic bottle heated to stretch firmly on the wood.
fixed in place with foam
Initially I wanted to use SilkaBoom foam, one of the best and everywhere recommended. But I could find it to order in time (out of stock everywhere) and I used a cheap chinese foam. It was an excellent choice in the end. Worked like a charm and was expanding even more than I expected and handle the pylon perfectly. So don’t complicate too much, improvise with what your instinct tells you is good.
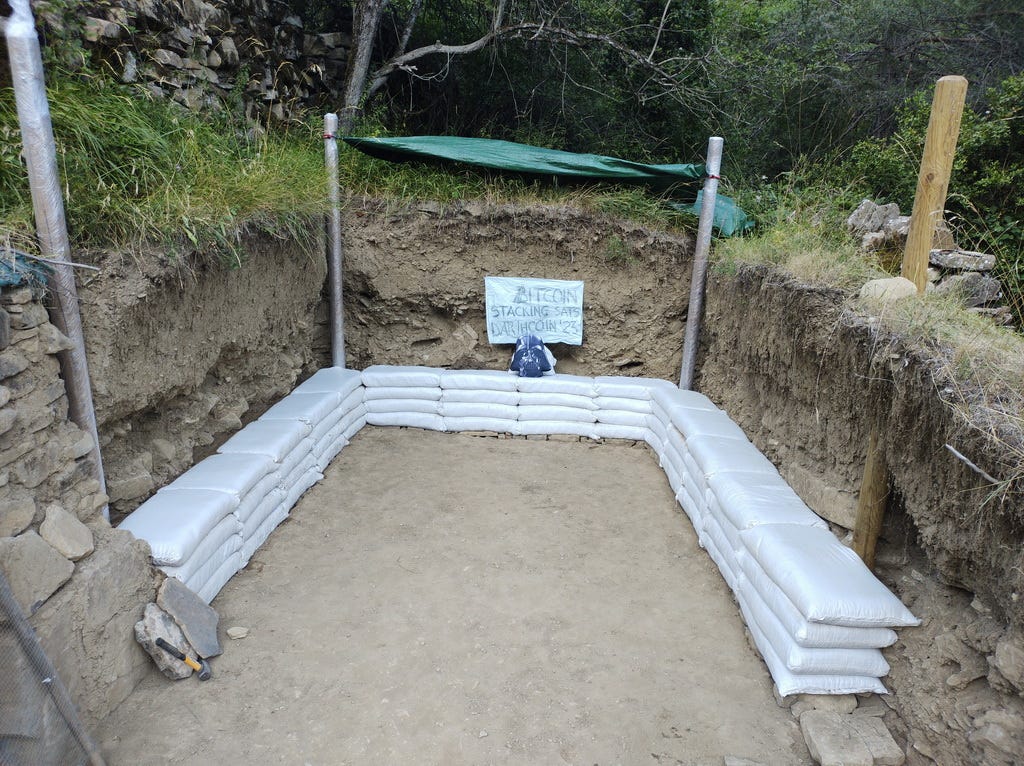
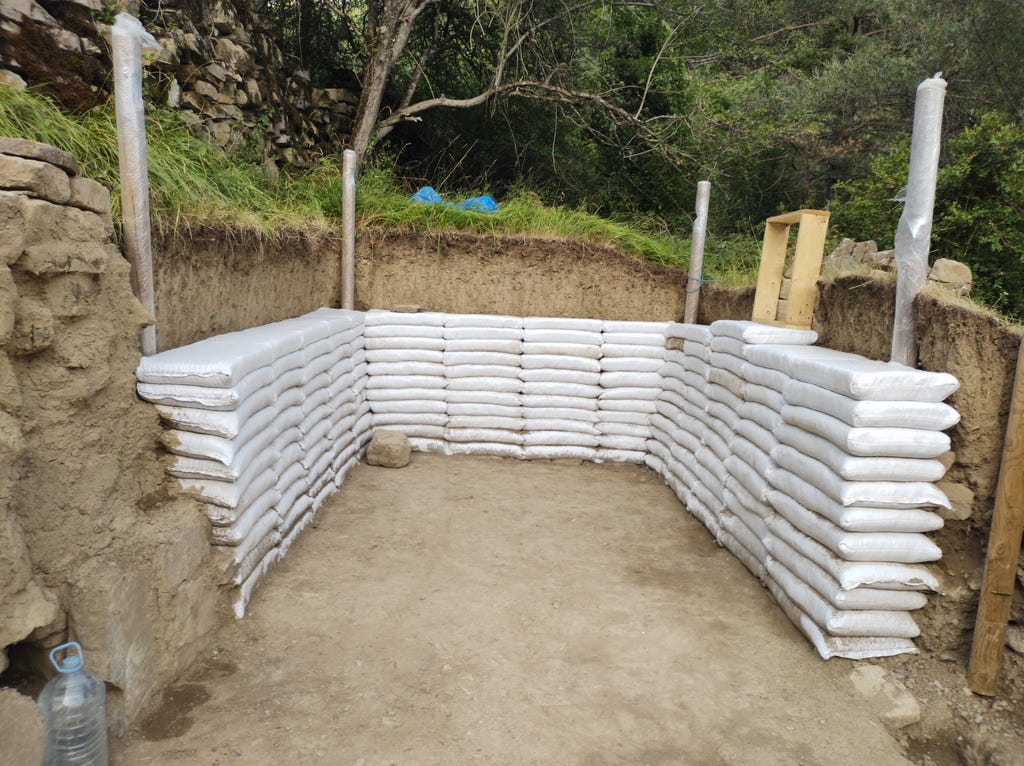
This is how it ended the first 4 levels with 4 pylons in place, in early August:
The construction continue all August and September, with short days pause to refill the beer stock and take a break, bringing more bags, materials etc.
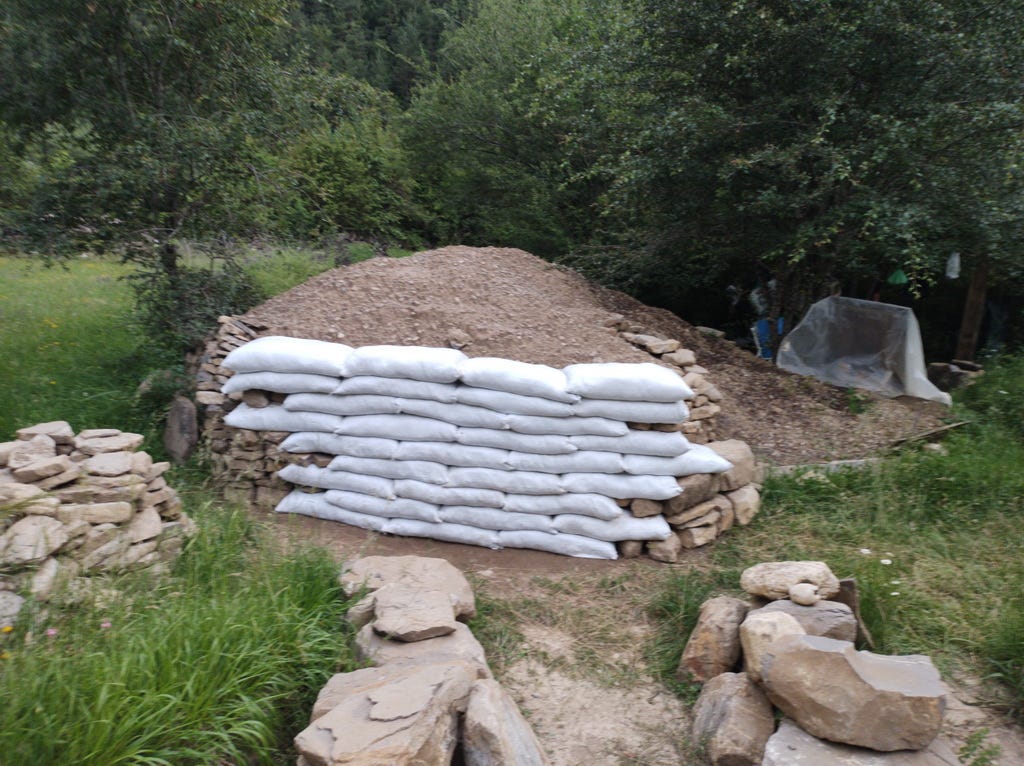
All August until early September I was filling bags, until the 8th level, that look like this, improving the technique of tampering the bags.
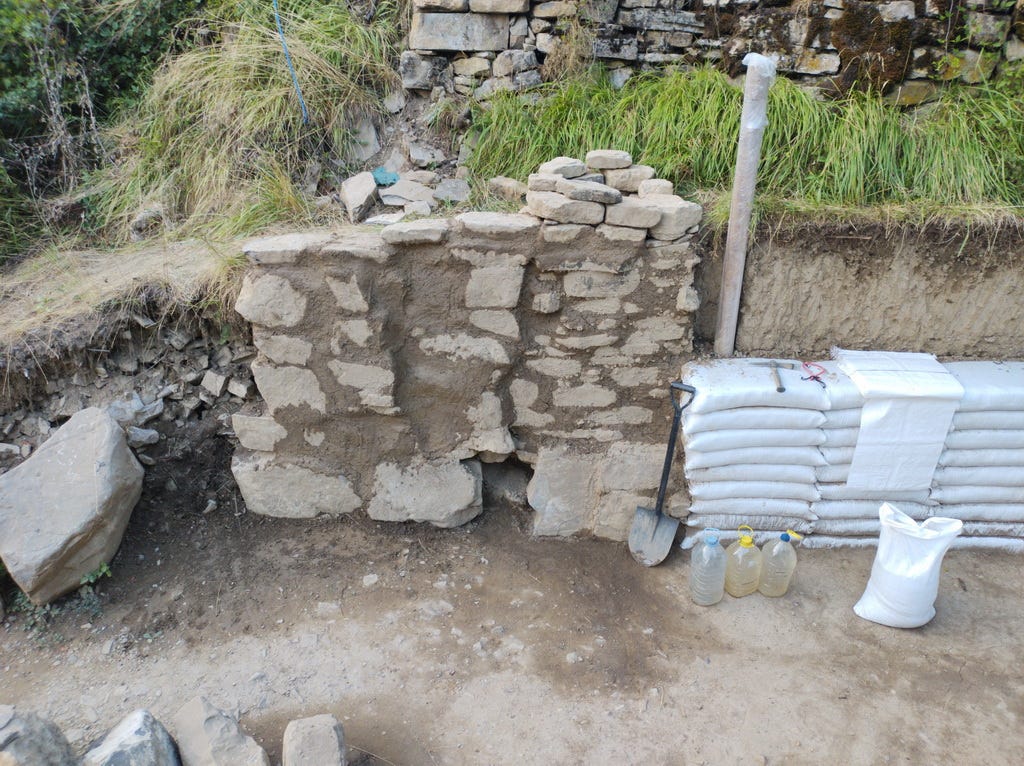
In early September I was stuck a bit because the rain season started and the soil for bags was with too much humidity and I couldn’t fill properly the bags. So I went back to reinforcing the chimney and the left wall, up to the top level.
I am still not decided how will be the fireplace. Initially I was thinking to make a rocket stove, with the exhaust tubes under the bed but I had to renounce of that idea:
the hobbit house, because is under the soil level, surrounded by 3 walls of soil, will be well isolated for the winter. The temperature inside will be much higher than with 4 outside walls exposed to cold. So having a massive heater under the mattress will be damn hot!
space. I realized that I do not have enough space for a rocket stove, because once you enter the door, will be a bed on the left and right in front a big rocket stove barrel. Ugly and not handy.
I need something small, easy to cook also on it and I could use the ready in place hole in the chimney for the exhaust.
So, fireplace, next year to decide which type. Until then, concentrate on finishing the other 3 walls with earthbags, so I can cover them and prepare for the winter.
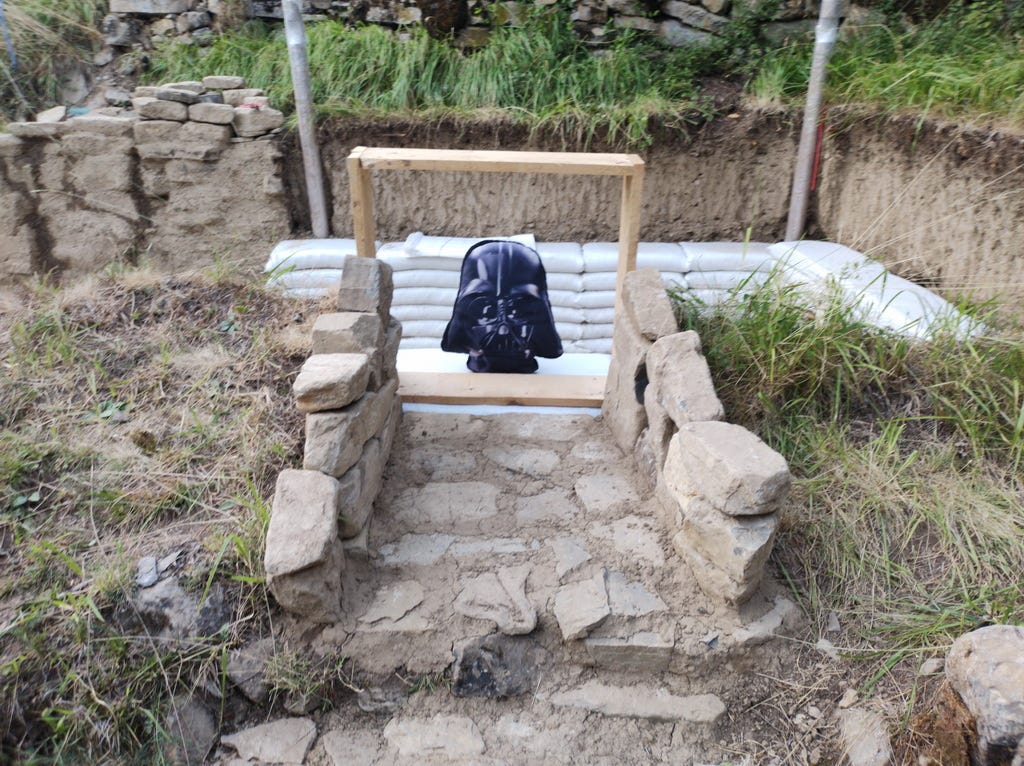
I still had some rainy days so I decided to prepare the place for the 1st window.
This side of the house will be covered with green roof, so I had to make a separation between the space for the window and the rest. The rocks are placed in such way to let the rain water to go out, not inside. And this windows is right at the entrance, so I can see who is “visiting” me, I could even be like a movie theater booth, charging entrance with sats: “Welcome to DarthCoin Citadel Tour. Please pay your entrance scanning this LN QR code and pass to the steps on your left please.”
From inside looks like this:
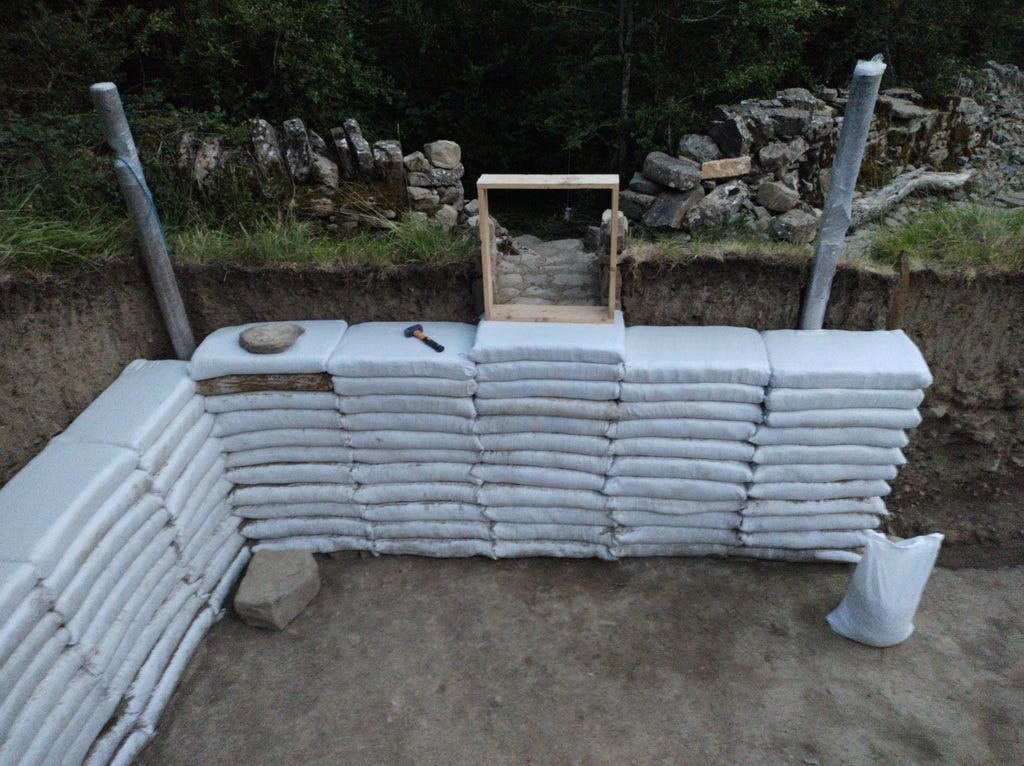
This is the “state” of the walls at the middle of September, when I was caught by a full week of rain and couldn’t continue. I have to wait for better sunny days to go back, to finish the last 6-7 levels of bags until the top, in level with the soil, so I can cover it well and prepare it for the winter conservation. The bags must be well covered against the sun radiation mainly, water is not so problematic is it drops a bit. But the sun is deteriorating the composition of the bags material.
From here I would have to fill the bags on top, at the roof level and throw them down straight on each place. Then climb on a small ladder to reach a good level to have the force to tamper them heavily. Is quite hard to take them on my shoulder and throw them over my head on top of the others. Is too much effort for one man and I will break my back. I have to be smart and use easy techniques. It’s much easier to carry a bucket with with dirt (7-8kg) than a 30kg bag full of dirt and throw it over my head. Each bag is filled with max 4 buckets.
Will see how will be in October, if I can continue more. Until then let’s close this stage 4.
Stay tuned, maybe I will just update this same part 2 before the end of October.
Until then, here is a gif with the timelapse of building until at this stage:
The next chapter will be about… THE ROOF! But will be next year. Unfortunately, this year I do not think I have time for it, because the rains are coming and after that a long winter.
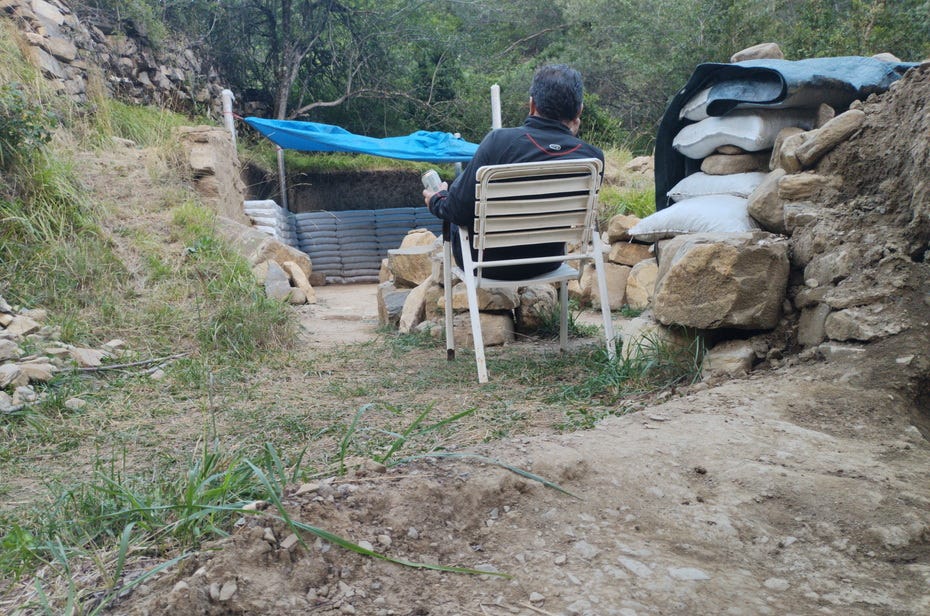
This is Darth, every evening, with a beer in hand, relaxing after a hard work day, and visualizing, calculating, organizing the next day move. All in my head, without any computer, blueprints, 3D software or something like that. I am trying to use my brain capacity at maximum is possible.
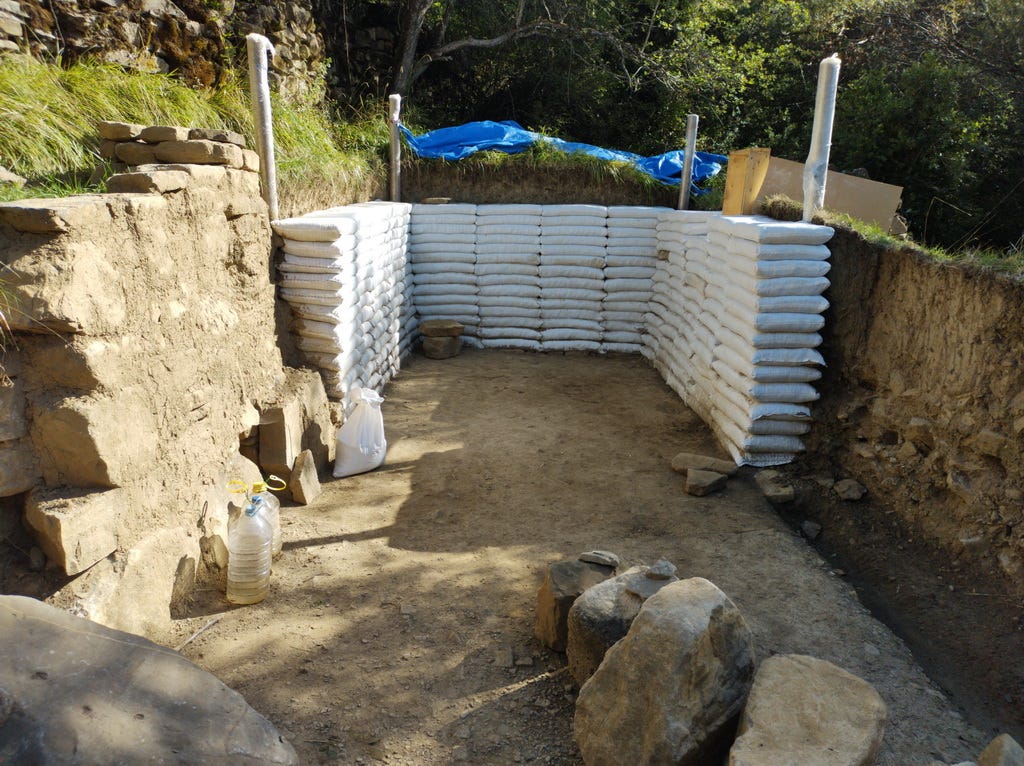
Update 04 October: finished the 14th line of earthbags.



May the force be with you 🗡 stay humble stack dirt 💯
your an inspiration, i know you will complete this and i hope you will share with everyone. wish i can do the same but harder with a young one.